Is it too late to say Happy New Year? This is my first chance to do so on this platform. Thank you all for the continued support while I've been reevaluating where and how I can spend my time, the last two years have been a whirlwind of constant change. Today I'm back and we're covering a MASSIVE undertaking at my parents' house that's been progressing for months, and at the same time flying by faster than I can believe.
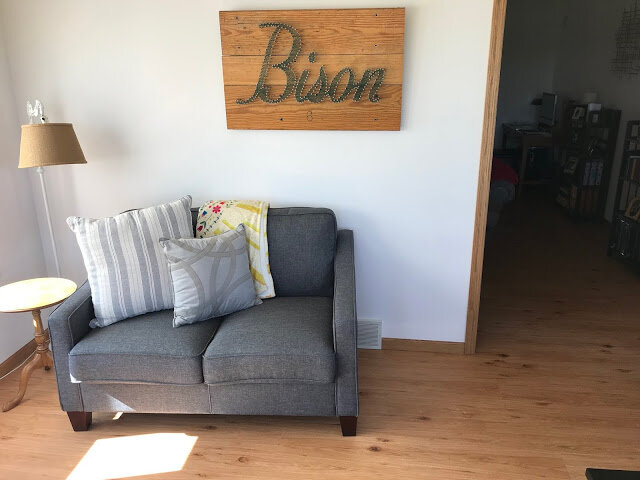 |
| Sunroom area reassembled after new flooring was installed |
To recap, the house was built in 1990. All of the floor coverings besides the already-remodeled master suite were original to the house. Some very typical 90's pastel carpet colors, basic white tile with colored grout, and arguably ugly linoleum at the garage entry/laundry room. Considering the nearly 30 years that they've seen traffic, most areas were actually holding up amazingly well. There were already some rougher sections in the dining area off the kitchen where rolling chairs had been when my grandparents had the house, but other heavy traffic areas were quickly breaking down further and stretching out with the added weight and friction of my mom's motorized wheelchair. Having done this whole process once before at our previous home, we had a pretty good idea of what direction we were heading in.
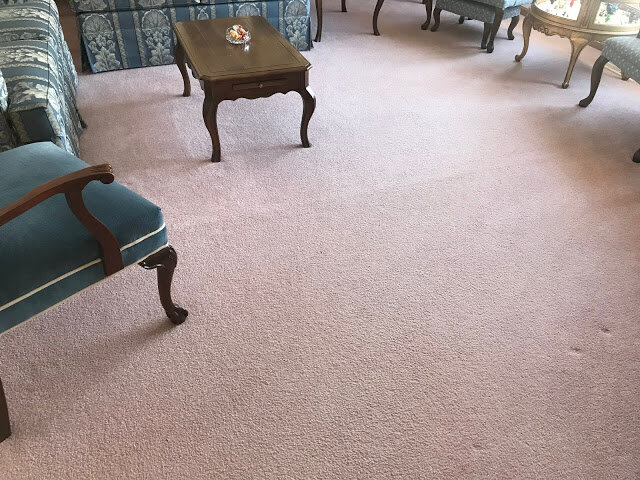 |
| Living room before carpet removal |
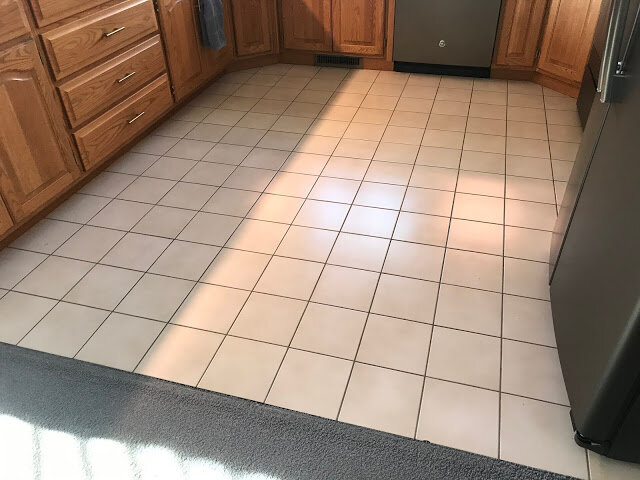 |
| Kitchen before tile removal |
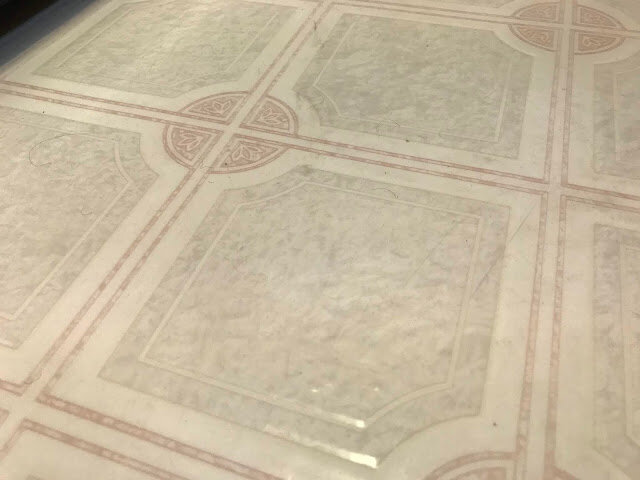 |
| Very tired back entry linoleum |
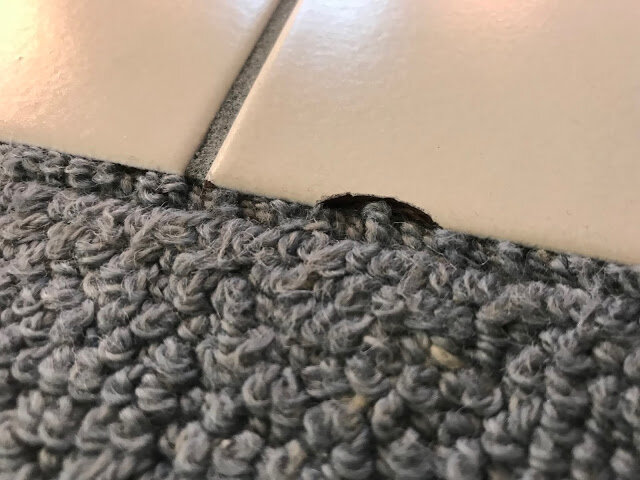 |
| Chipped tile that has been broken for as long as I can remember |
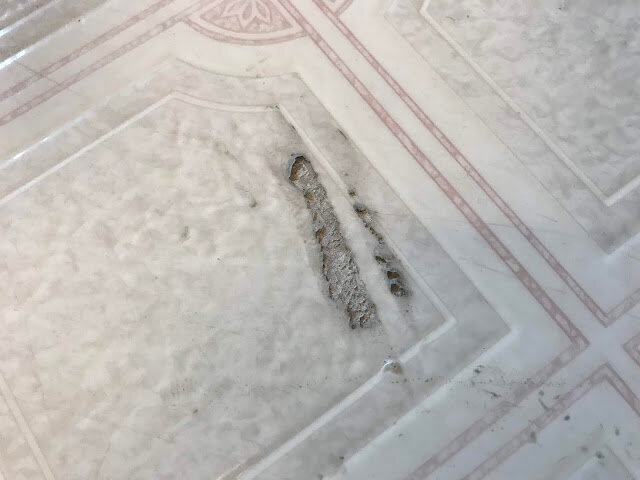 |
| Damage to linoleum that occurred while my parents were moving in |
 |
| Main hallway before carpet removal |
 |
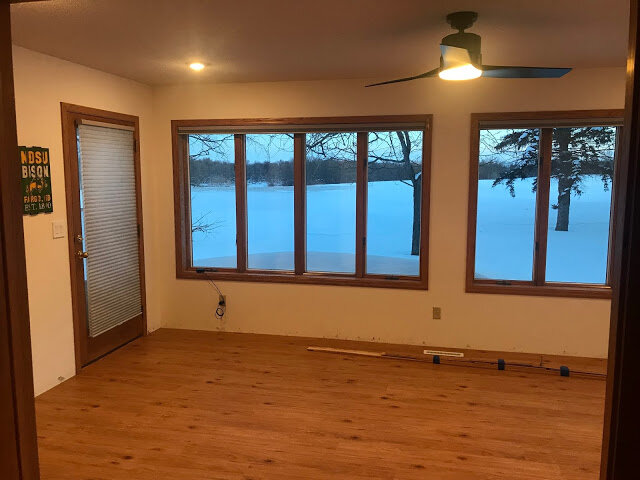
| Sunroom before carpet removal. This was some of the best-condition carpet still remaining due to low traffic |
 |
| Family room transition, you can see the ripple and wear on the blue carpet |
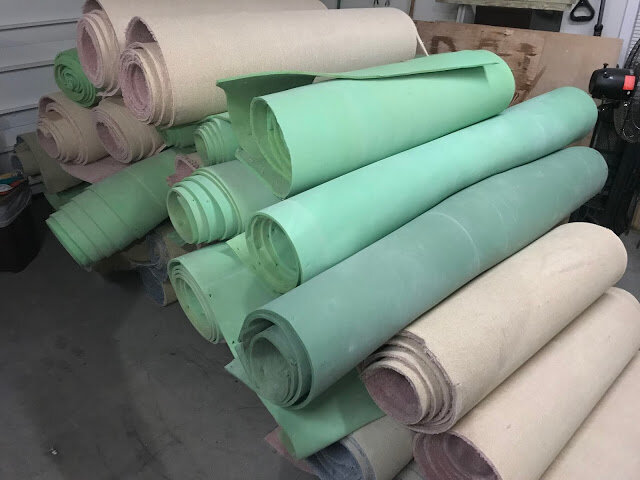
Throughout the years, we've done a lot of experimenting with floor coverings and seeing how they work with wheelchair traffic. In the end, we've found that hard surfaces with no transitions between rooms are the only way to go. Any carpet transitions eventually fray away to nothing, bumps between surfaces can make maneuvering the wheelchair difficult. While this project was a huge investment, we were determined to do everything right the first time at this house after lots of failed attempts and, in the end, wasted investment in past experiments.
 |
| An example of the fraying that happens when we have carpet to hard floor transitions. It eventually happens as a result of the wheelchair traffic in every application we've ever had. |
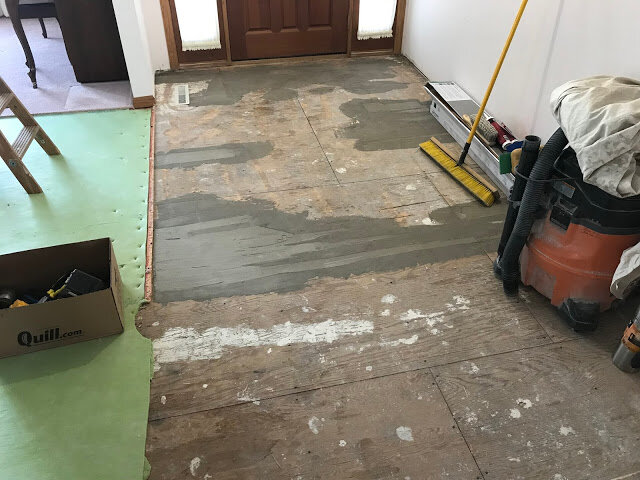
To be frank, we are not floor installation experts, and thus hired that part out to a trusted local business that my parents have worked with for decades. They've done all of our previous work to the highest standards, tried hard to find solutions to our problems, and ultimately have helped us end up at the right products to suit our needs. They always let us make the design decisions we need, and you guys know I'm extremely picky, so that aspect has always been appreciated. While installation was covered, we did all the removal of the old flooring. This included pulling up nightmare tack strip, chipping out the most difficult tile to ever exist, and removing over-fastened underlayment to even out the subfloor for an absolutely clean, transition-free floor for every single room EXCEPT for the second bathroom, in which we are leaving the existing tile. It's projects like this that make you never want to do anything yourself ever again. On HGTV it always looks so simple, but chipping tile is no picnic and I'm thrilled to have it gone and over with.
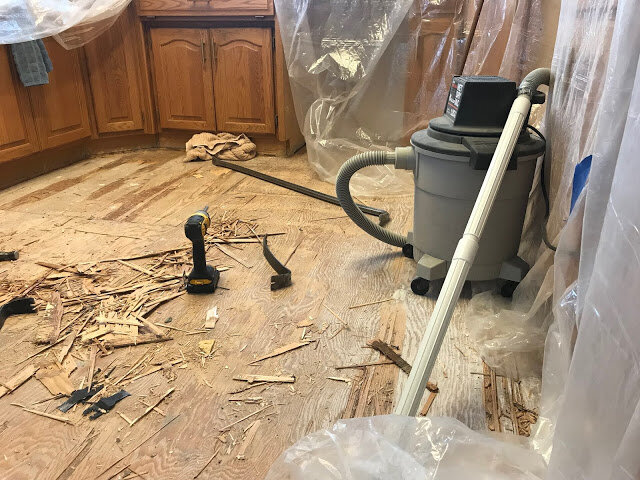 |
| Aftermath of tile removal in the kitchen after subfloor removal |
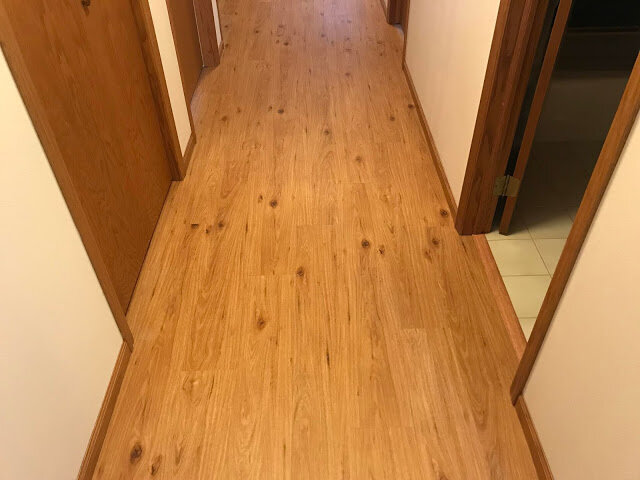
For the new flooring we chose a commercial grade vinyl plank. The hardwood look, no matter what form it comes in, is huge right now and in my opinion will always be timeless. We've been through the whole thing of trying to decide what type of flooring is right for us, durability is what it comes down to. My mom often drops the tv remote, or has a spill and can't always clean it up herself. We need to be good with prolonged moisture, heavy things falling, constant wheelchair traffic, etc. etc. We had really great experiences with the Tarkett Luxury Planks that went into our old house (people also asked multiple times if they were real hardwood), so we wanted to stay in a similar class of product.
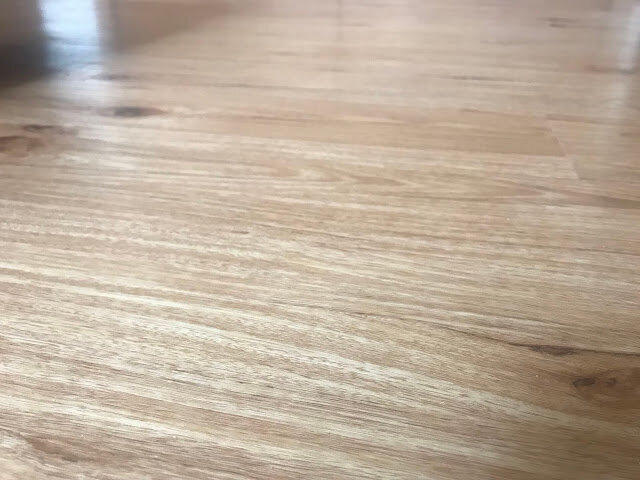 |
| Closeup look at the plank flooring product we chose |
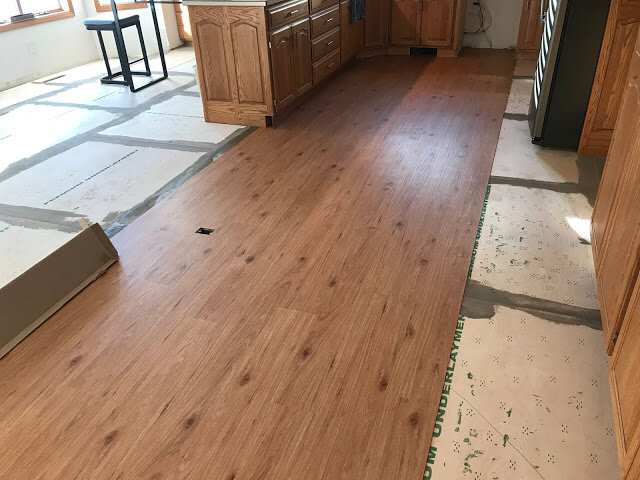
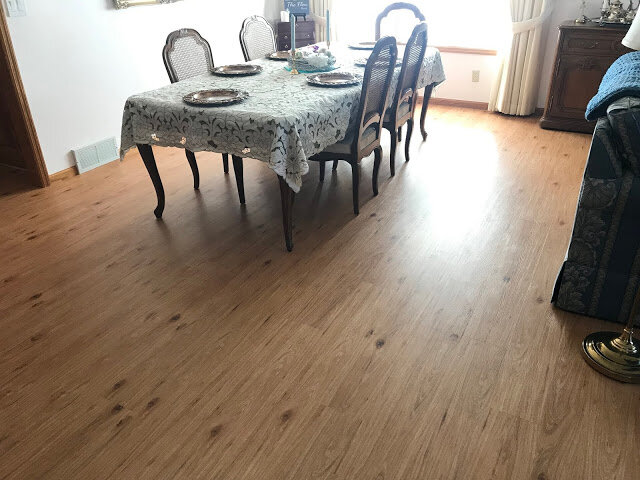
This time we chose a product from Karndean. The actual product decision mostly came down to the actual finish and color. We worked through a lot of samples trying to find a tone similar to our existing golden oak wood work and cabinets, but with the right amount of variance and texture so that the floor would be neither too uniform nor too busy. We ended up with maybe more "knots" in the look than the sample would've indicated, but once you get furniture back into the spaces everything blends out okay. The final installed product was also a little bit lighter than the sample that we matched almost perfectly, which also worked okay in our favor rather than being too dark. It's still a very nice compliment to the existing wood, but it goes to show that manufacturer batches can vary greatly and you may want to order a sample box if an exact finish is of essence.
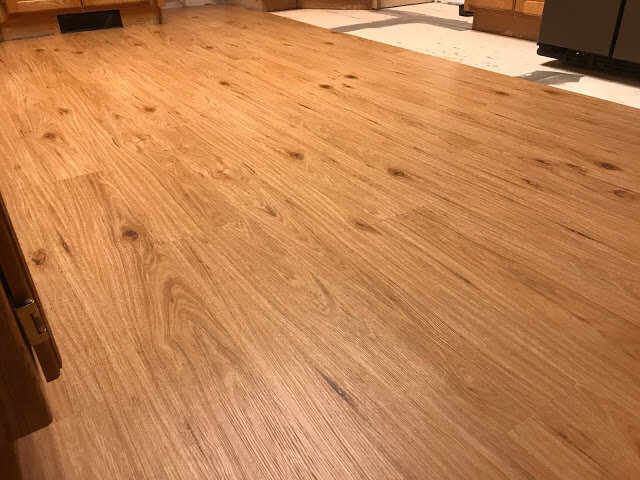 |
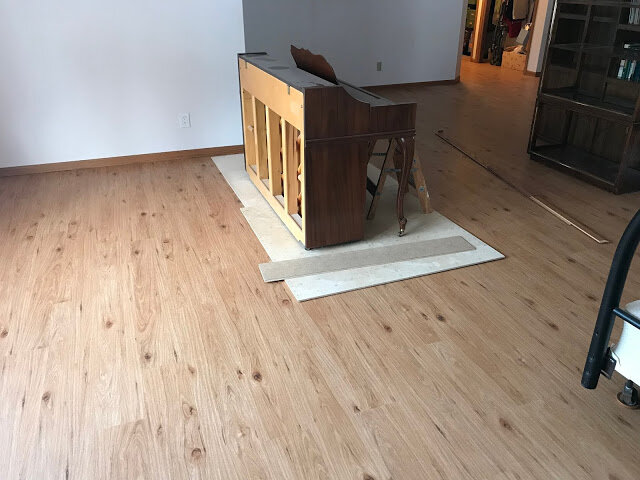
| Progress shot of the flooring installation in the kitchen |
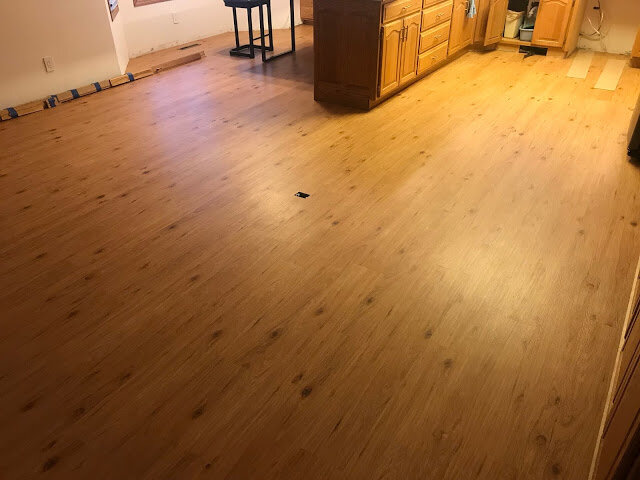
Originally we planned to do this installation rather leisurely, doing sections at a time in order to not get in over our heads moving furniture and prepping the surfaces. We also figured the installation guys would have sporadic days of availability that would work in the same manner. Unfortunately, or maybe actually fortunately, the exact opposite happened. Our crew ended up having a number of days continually open up due to cancellations, so we went into overdrive and tried to keep up with our removal of the old surfaces to keep the ball rolling while they had the availability. It was a very busy couple of weeks, as I posted elsewhere on social media I was unable to get my usual video work done due to all the work we put in while also dodging the installation schedule. While it was a bit tiring and stressful, it did move things along quickly and we're able to say it's done. We're thrilled with the result. All in all, it drastically updated each and every space while still staying true to the elements we want to keep, and the improved functionality cannot even be expressed. After 30 years, this floor finally has new life.
 |
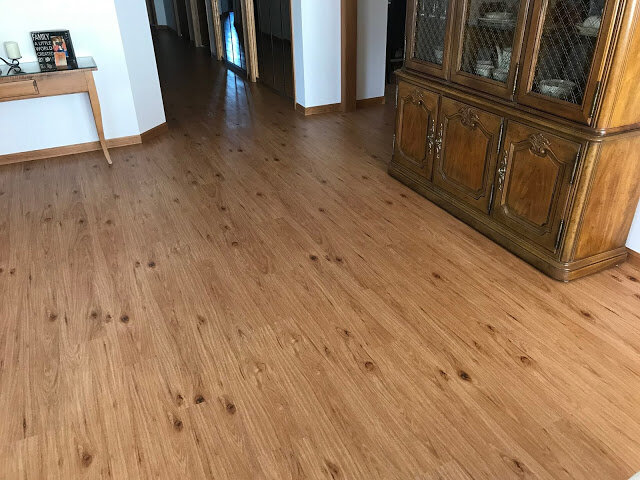
| Living room completely finished and reassembled |
See more of the entire process in images below:
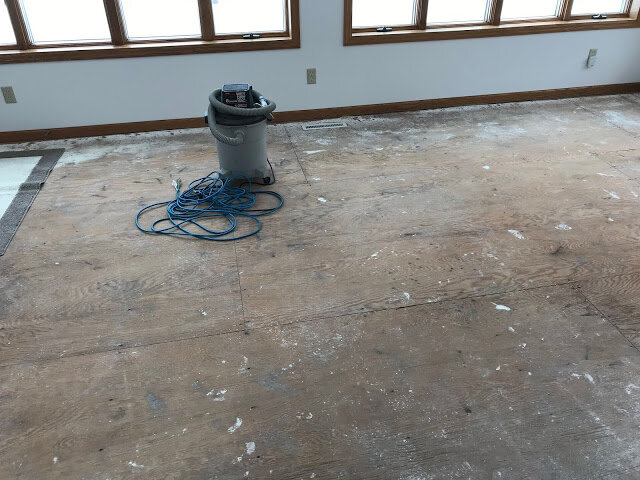
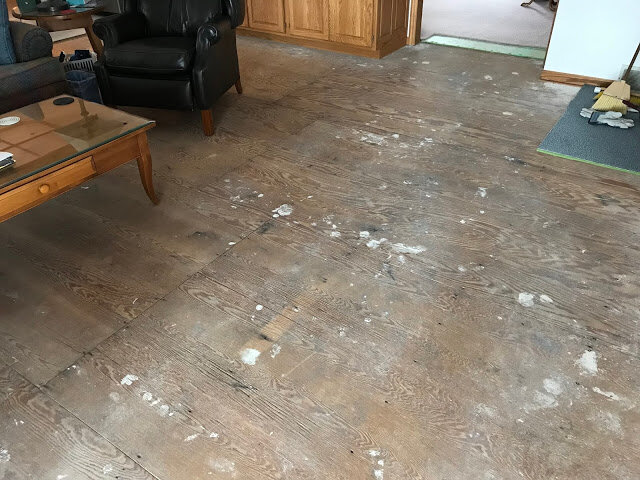
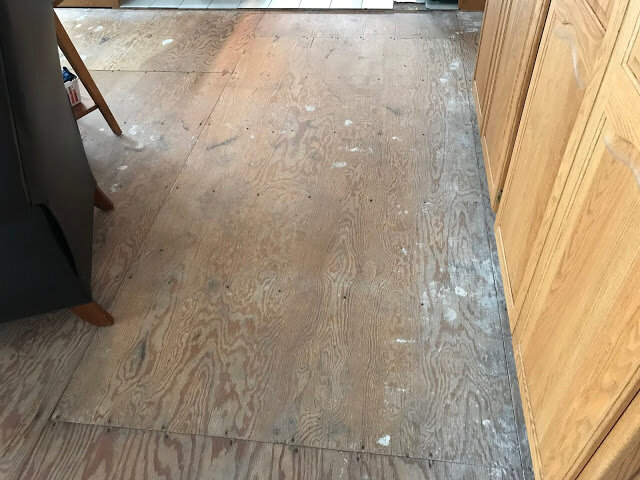
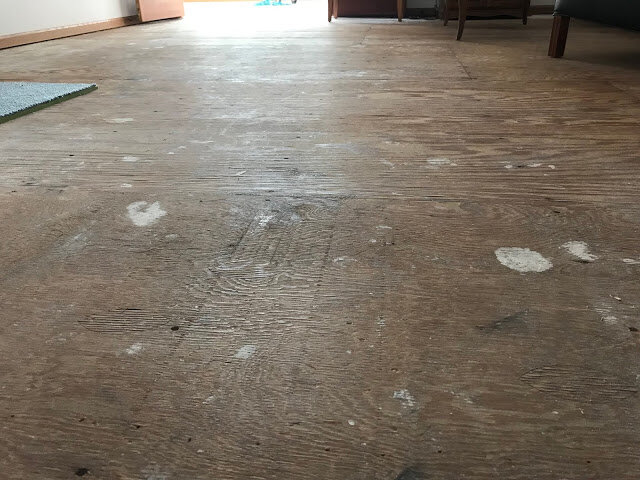
Here is a look at the rooms as we removed the old flooring and before installation of any new underlayment or flooring product. Also in this batch is the massive pile of removed carpet amassed:
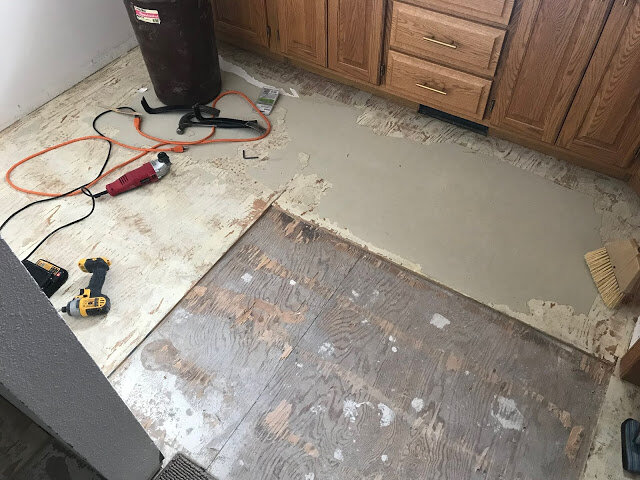
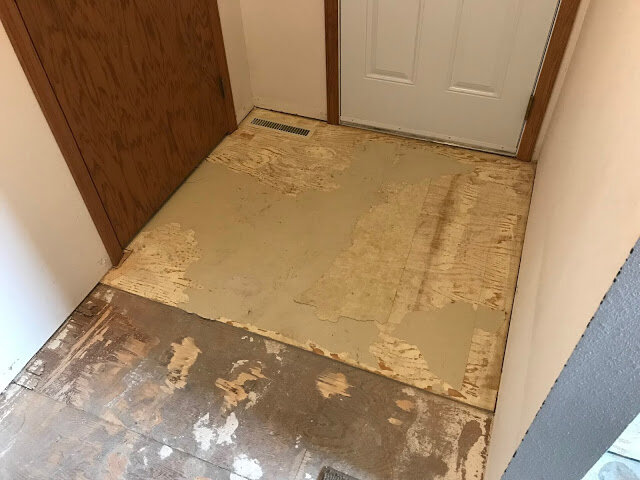
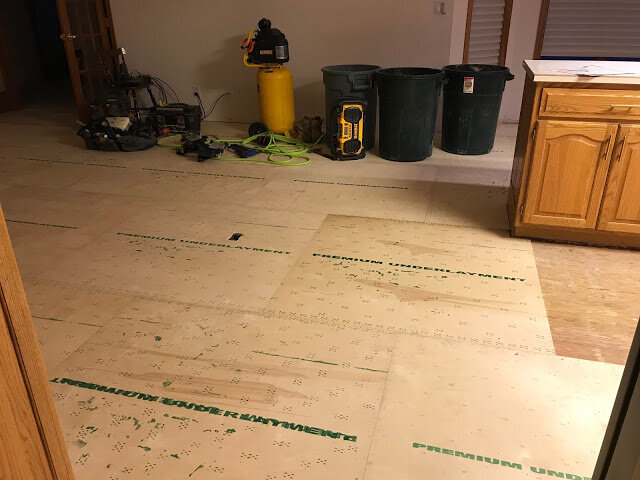
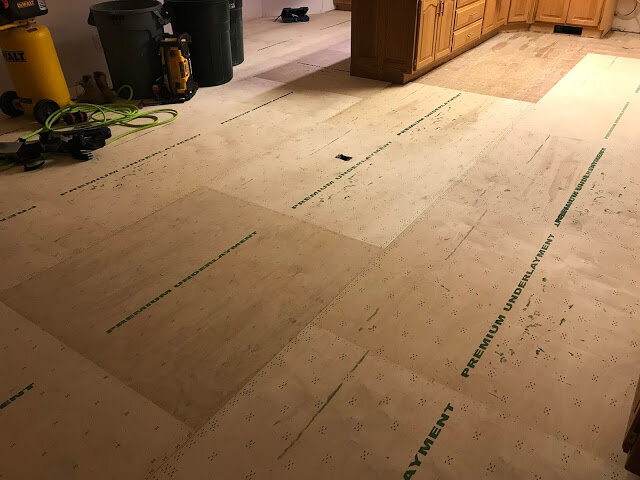
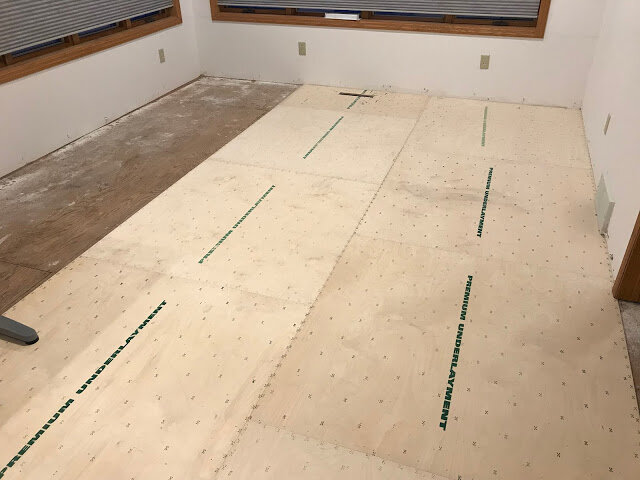
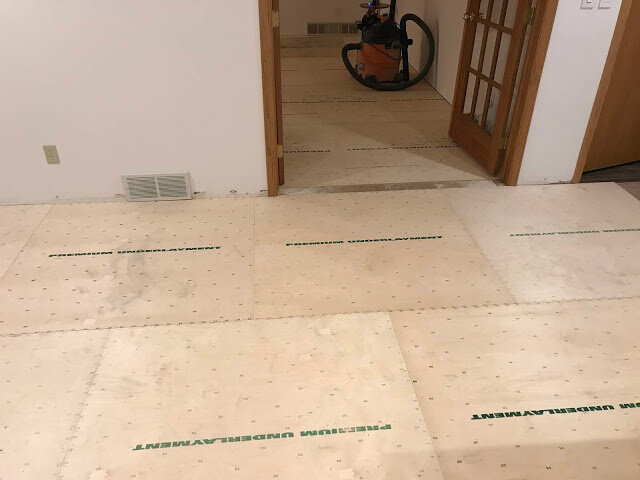
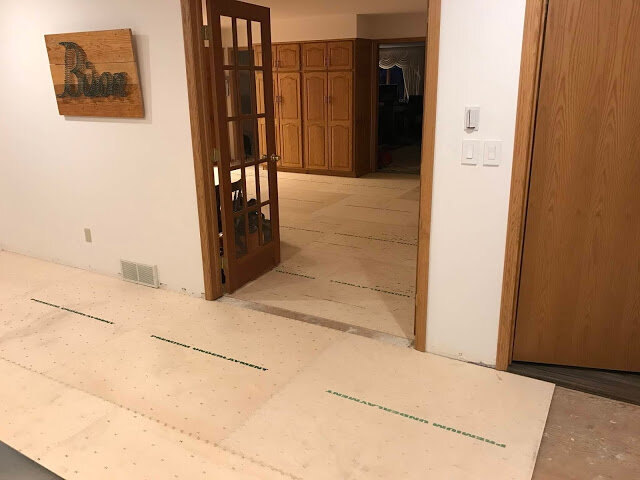
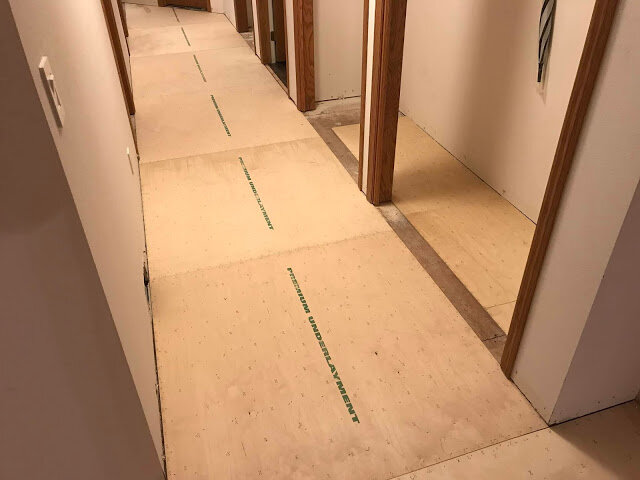
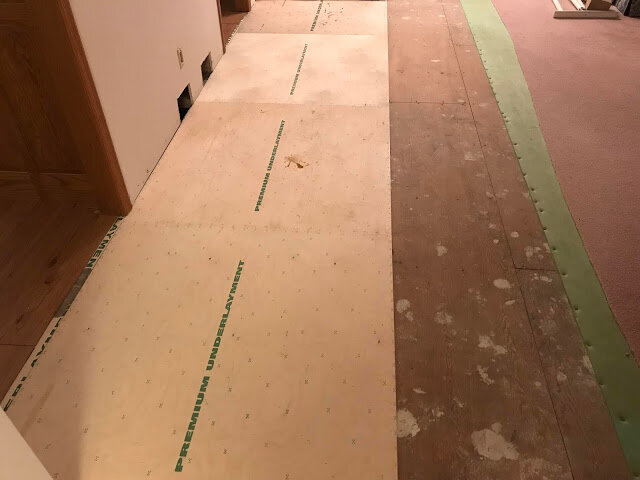
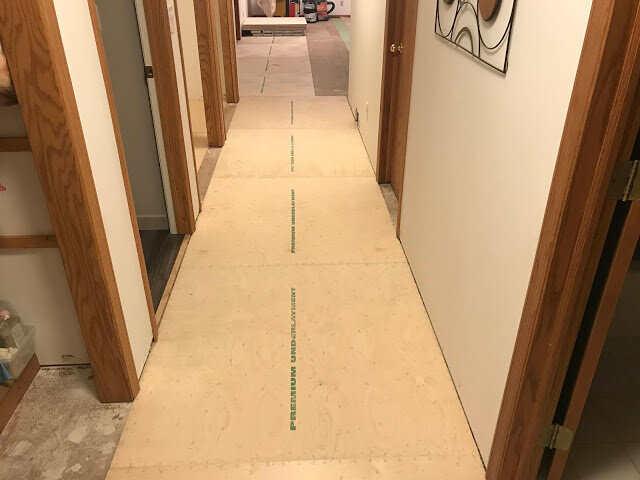
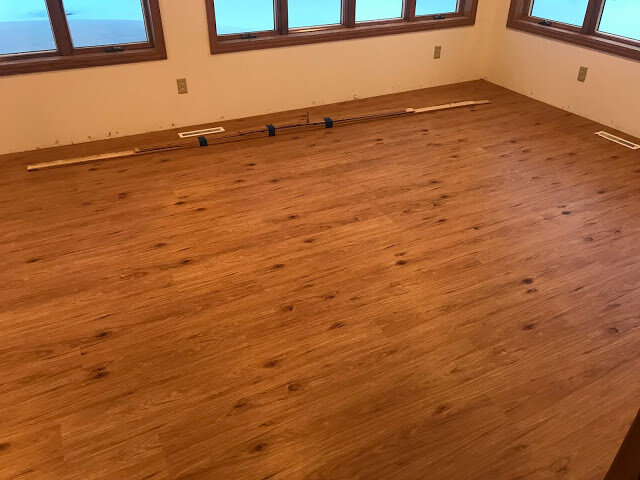
Here are more progress pictures as the underlayment was put in place throughout the rooms:
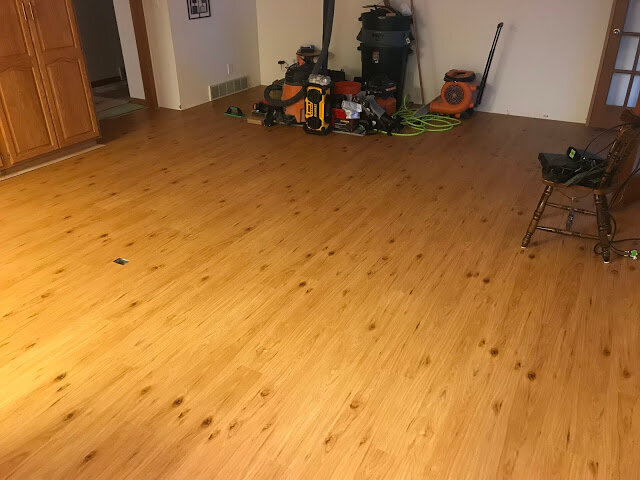
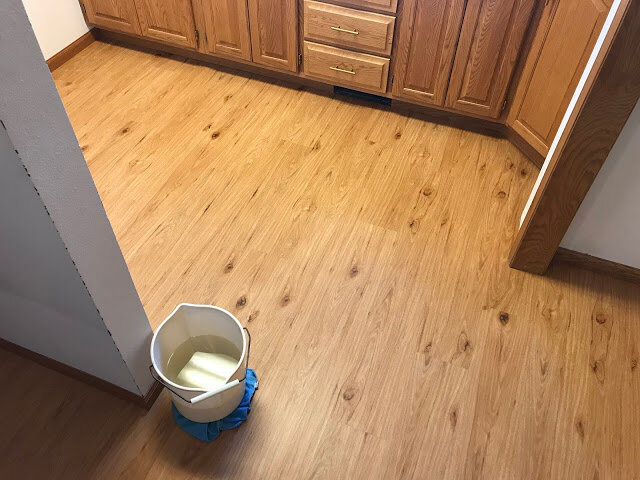
Here are more progress pictures as the flooring was installed throughout the spaces:
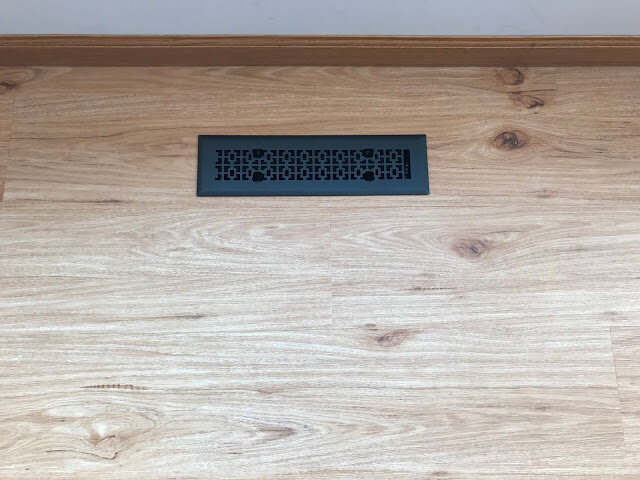 |
| We invested in new register covers for a little more design impact, and because the old ones were pretty scratched up |
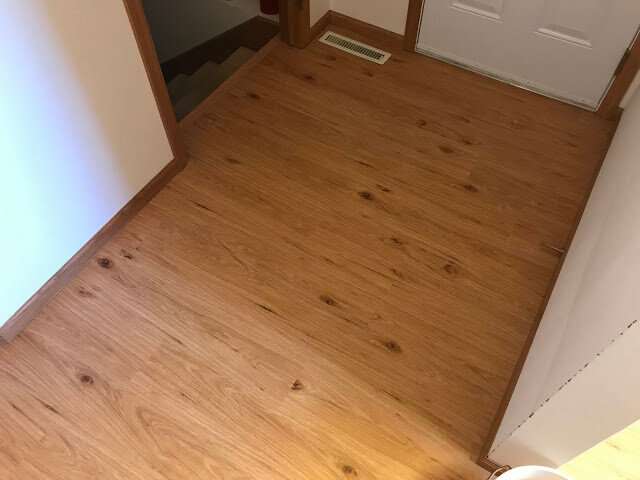
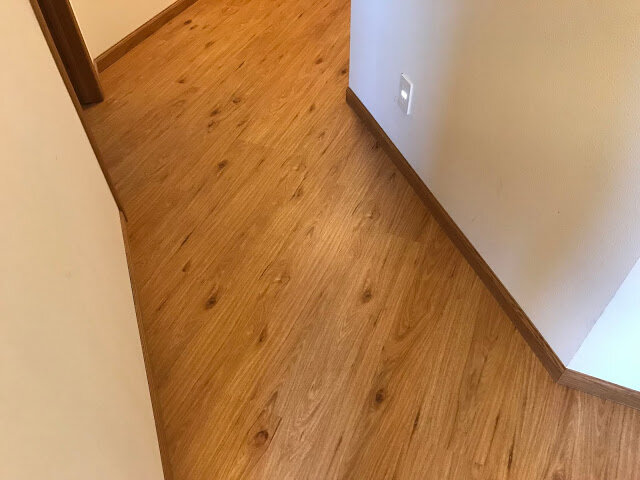
Here are a couple additional finished pictures after we got furniture back in place: